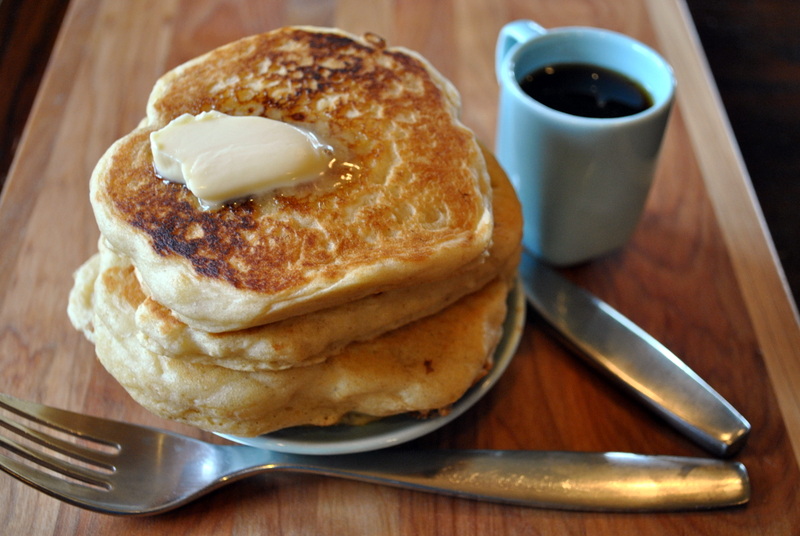
 Fluffiest Maple Buttermilk Pancakes

For some reason, pancakes were one of the harder recipes for me to properly veganize. I ate a lot of (tasty) dense pancakes in the beginning. It’s easy enough to replace eggs with a flax egg, but the pancakes weren’t fluffy and didn’t have enough rise that real eggs give. The solution? More baking powder. Don’t worry, I promise it’s not overpowering in the recipe. It just gives you the fluffiest, dreamiest pancakes… ever!

Fluffiest Maple Buttermilk Pancakes
- 1 1/2 C. organic unbleached all purpose flour (for gluten free pancakes, subsitute all the flour in this recipe (2 1/4 C. total) with Cara’s all purpose GF mix + 1/2 t. xanthan gum)
- 3/4 C. whole wheat pastry flour
- 2 T. aluminum free baking powder
- 1/4 C. pure maple syrup
- 2 T. vegan butter, melted
- 1/2 t. sea salt
- 2 1/4 C. unsweetened soy milk
- 1 T. apple cider vinegar
- 1 1/2 T. ground golden flax seed
- 1 tablespoon vanilla
Method: In a small bowl, combine soy milk, apple cider vinegar and vanilla (vegan buttermilk), let sit and curdle while you put the other ingredients together. Melt the vegan butter and combine it with the pure maple syrup, set aside (mmm, maple butter). In a large bowl, whisk together flours, baking powder, sea salt and ground golden flax seed. Now add all the liquid ingredients and stir with a wooden spoon til just combined. This batter needs to rest for about 10 minutes so that it will begin to rise for fluffiness, so while you’re waiting, start preheating your pancake skillet, I use a large griddle so I can cook more pancakes at once. Lightly oil the skillet/griddle and measure out pancake batter with a 1/3 cup measure. Cook pancakes for about 4 minutes on each side. Serve with vegan butter and pure maple syrup if desired.

Oh and today is the last day to enter the Virtual Vegan Potluck, if you haven’t entered all ready, get in there!

 maybe next year we should do a breakfast potluck?


 Blending up the wet ingredients makes for a really quick recipe with no fuss


