vegetarian

Fluffiest Maple Buttermilk Pancakes

Fluffy Maple Butter PancakesFluffiest Maple Buttermilk Pancakes

For some reason, pancakes were one of the harder recipes for me to properly veganize. I ate a lot of (tasty) dense pancakes in the beginning. It’s easy enough to replace eggs with a flax egg, but the pancakes weren’t fluffy and didn’t have enough rise that real eggs give. The solution? More baking powder. Don’t worry, I promise it’s not overpowering in the recipe. It just gives you the fluffiest, dreamiest pancakes… ever!

Top View

Fluffiest Maple Buttermilk Pancakes

  • 1 1/2 C. organic unbleached all purpose flour (for gluten free pancakes, subsitute all the flour in this recipe (2 1/4 C. total) with Cara’s all purpose GF mix + 1/2 t. xanthan gum)
  • 3/4 C. whole wheat pastry flour
  • 2 T. aluminum free baking powder
  • 1/4 C. pure maple syrup
  • 2 T. vegan butter, melted
  • 1/2 t. sea salt
  • 2 1/4 C. unsweetened soy milk
  • 1 T. apple cider vinegar
  • 1 1/2 T. ground golden flax seed
  • 1 tablespoon vanilla

Method: In a small bowl, combine soy milk, apple cider vinegar and vanilla (vegan buttermilk), let sit and curdle while you put the other ingredients together. Melt the vegan butter and combine it with the pure maple syrup, set aside (mmm, maple butter). In a large bowl, whisk together flours, baking powder, sea salt and ground golden flax seed. Now add all the liquid ingredients and stir with a wooden spoon til just combined. This batter needs to rest for about 10 minutes so that it will begin to rise for fluffiness, so while you’re waiting, start preheating your pancake skillet, I use a large griddle so I can cook more pancakes at once. Lightly oil the skillet/griddle and measure out pancake batter with a 1/3 cup measure. Cook pancakes for about 4 minutes on each side. Serve with vegan butter and pure maple syrup if desired.

Pour syrup

Oh and today is the last day to enter the Virtual Vegan Potluck, if you haven’t entered all ready, get in there!

vvp

Side Viewmaybe next year we should do a breakfast potluck?

Vegan Cherry Garcia Ice Cream

Vegan Chery GarciaVegan Cherry Garcia Ice Cream


Ben and Jerry’s Ice Cream had a stroke of Genius when they invented their Cherry Garcia flavor, named after the famed Jerry Garcia (1942-1995) of the Grateful Dead. It’s still their best selling flavor, because it’s freaking delicious. What’s not to love about cherry flavored ice cream with whole cherries and dark chocolate pieces? Too bad they haven’t created a vegan line of their ice cream…

Cherries and Chocolate Stirred InCherries and Chocolate Stirred In

Who else has been to a Grateful Dead Concert?

 I went to one show in Las Vegas in 1995 just before Jerry kicked the bucket. I thought I’d died and gone to hell. 30,000 people with nudity, drugs and chaos everywhere. Though I love the Dead, I’m pretty sure Dave Matthews opening for them was the best part of the show before everyone and their dog was higher than a kite. Funnily enough, we went as a family, as in my some of my siblings and my parents went to the concert too. We went to celebrate and mourn the life of my brother, Ben, who had passed earlier in the year. The Grateful Dead was one of his favorite bands. During the show another sibling who shall not be named here, went missing at some point during the show. We later found him passed out in the parking lot. Someone had stolen the Teva’s off his feet.

Vegan Cherry Garcia 2

Vegan Cherry Garcia Ice Cream

For the Ice Cream Base:

  • 1 can full fat coconut milk
  • 1 can lite coconut milk
  • 3/4 C. raw sugar
  • 1 t. vanilla OR cherry extract if you can find it
  • 1 C. fresh or frozen pitted cherries
  • 1 T. fresh lemon juice

For the Dark Chocolate Pieces: 

  • 1/2 C. chopped vegan dark chocolate or vegan dark chocolate chips
  • 2 T. coconut oil

Method: Make the dark chocolate pieces first: Melt the chopped dark chocolate and the coconut oil together over a double broiler on low-ish heat. Once fully melted, pour the chocolate mixture into an 8×8 pan lined with parchment paper or plastic wrap. Stick in the freezer and let chill til solid.

While the chocolate mixture is chilling, blend coconut milks, sugar, lemon juice, vanilla and just a few of the cherries (for color) until completely smooth. Pour into prepared ice cream maker and let churn for 25-30 minutes. If you don’t have an ice cream maker, you can try this method. While the ice cream is churning, cut the chilled chocolate into pieces with a pizza wheel. Return chocolate pieces to the freezer.

When the ice cream finishes churning, pour ice cream into a large freezer safe container and stir in the chocolate pieces and the remaining cherries, so they stay mostly intact. You can eat it now, like soft serve but it’s much better when you freeze it for 2 hours til it’s nice and solid.

For a raw vegan version of this recipe, please check out my post on Sunwarrior’s site.

Top View

Ben, we’re still “truckin” along without you, but man, we miss your guts, you ratbag. What a long strange trip it’s been.

BenBenjamin McCowan December 9, 1974 – April 1, 1995

ben-back of  005This post was shared on Allergy Free Wednesdays

Sun Warrior’s Brand New RAW VEGAN Liquid Vitamin Mineral Rush Review and FIVE BOTTLE Giveaway

SunWarrior+Blogger+Banner (1)Sun Warrior Liquid Vitamin Mineral Rush

Denley Fowlke was the first raw vegan I ever met. I worked two doors down from him in a Real Estate office 15 years ago. He was (and is) a radiant picture of health. Lean, tanned, perfect teeth and glowing complexion (although, we’re both a bit older now). At the time I was baffled that anyone could eat a diet consisting of raw plants, sprouted grains, nuts and seeds, ALL THE TIME. I was intrigued and he inspired my first real juice fast. I even went out and bought what was then one of the top of the line juicers (a Champion, which I still own and it still works, um, like a Champion). A year later, I had moved into a different city and because of Denley’s influence, I attempted to go raw. At the time I was fairly young, and to be honest, didn’t really get entirely what a raw vegan was, the only resource I had was this totally awesome bookTo my credit I lasted a full six months on a raw vegan diet. I have to admit that after a period of time, everything started to taste like grass and I couldn’t handle it any more. So I went back to my sad Standard American Diet.

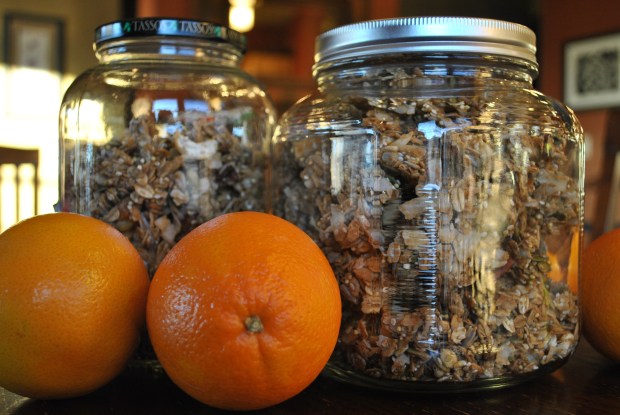
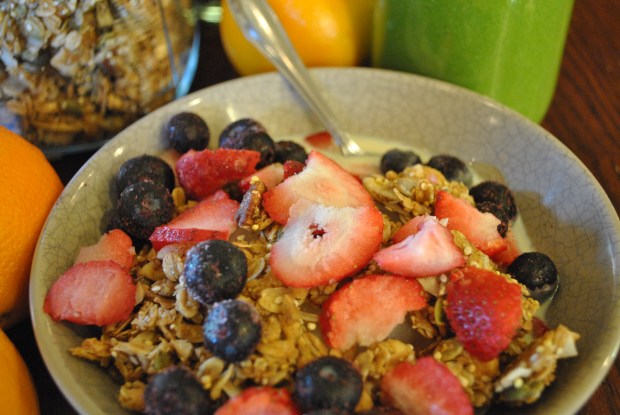
As you all know, I went fully vegan at the beginning of 2012 and I’m doing a month of mostly raw for April. This time around, I’ve got a better arsenal of rawtopia up my sleeve, plus all the tricks and tools of the trade that all the cool kids have (Blendtec, Cuisinart Food Processor, Dehydrator, etc.)

Fast forward to last month, my husband decided he wanted to start using a protein powder to fuel his workouts. I did my research and decided that Sunwarrior would be the best product for his needs. I loved that it’s vegan and raw! After buying the Chocolate Protein Powder at Whole Foods, I went online to see if I could get a better price on the Sunwarrior site. Imagine my surprise when I discovered on the site that Denley Fowlke is the Co-Founder of Sunwarrior. Now I knew that my husband was using a product I could trust, one with integrity and without any gimmicks. Well, I’ve since reconnected with Denley and Sunwarrior invited me to be one of the first to test our their BRAND NEW product, the Liquid Vitamin Mineral Rush. It’s Raw, Vegan and Organic!

I love this product! One thing we vegans always worry about is whether or not we’re getting our correct vitamin profile, I mean, plants give us nearly everything we need, but those B-12 and D vitamins can be a little elusive.

Denley_Photo
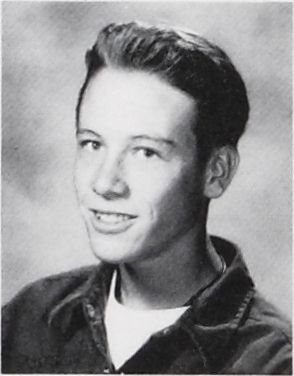
Denley Fowlke, Co-Founder Sunwarrior. Still eating a High Raw Diet

Here’s what Sunwarrior has to say about their product:

“Vitamin Mineral Rush contains no synthetics, chemicals, fillers, soy, or gluten, unlike many other multivitamins. Sunwarrior is one of the first companies to use no synthetic vitamins or minerals at all in their vitamin products.

Vitamins and minerals are crucial for good health and fitness and yet even the most health conscious people are forced to take chemical laden pills full of synthesized vitamins. We’re very happy to provide them a better option.”

Sun Warrior Liquid Vitamin Mineral Rush2Better option indeed! I’ve been using the product for two weeks now. The first thing that I love about it is that it’s a liquid, so it’s instantly absorbed by the body. There’s no worrying about whether or not it’s going to break down within your system and provide you with everything you need, (read here about some vitamins being eliminated from the system….whole). The liquid is pleasant tasting on its own, but you can also mix it with juice, water or into a smoothie. I love that you get an instant energy boost when taking the supplement as well. This product totally meets my needs!

Now, here’s the cool bit. Sunwarrior has been incredibly generous and is giving away FIVE bottles of the Liquid Vitamin Mineral Rush to FIVE of my readers.

Click on the link below to enter the Giveaway! Sorry, only open only to entrants in the USA. You must also follow this blog by email or RSS feed to qualify. You have 7 days to enter!  Winners will be announced on my blog on Monday April 8th. GO!

a Rafflecopter giveaway

Vegan Sesame Orange Seitan

topphotoVegan Sesame Orange Seitan

Way better than takeout. Crispy, delicious and super yummy. Just make it all ready!

top photo1

Vegan Sesame Orange Seitan

For the sesame seitan strips:

  • 1/2  of this seitan recipe (3 cutlets) OR 1 package store bought seitan OR for GF peeps, 1/2 package soy curls prepared according to package directions, OR 1 block store bought tempeh, cut into thin strips
  • 1/3 C. non GMO cornstarch
  • 1/3 C. raw sesame seeds
  • 1/4 t. sea salt
  • 1/2 t. ground black pepper
  • 2 T. ground golden flax seed
  • 1 t. baking powder
  • 1/3 C. water
  • 1/4 C. expeller pressed safflower oil (gasp! This is the first recipe on my site where I fry something in oil!)

For the Orange Sauce:

  • juice of 2 oranges (about 1 cup)
  • zest of 1 orange
  • 2 T. bragg’s liquid aminos
  • 2 T. agave
  • 1 t. minced fresh ginger
  • 1 clove minced garlic
  • 1/4 t. ground black pepper
  • 1 t. non GMO cornstarch
  • sliced scallions for garnish

Method: In a large skillet, start heating the safflower oil over medium heat. Then, in a medium bowl, combine the cornstarch, sesame seeds, baking power, water, ground flax, salt and pepper. Put the seitan/tempeh strips into the batter and gently stir to coat. Working in batches, put strips of seitan in the hot oil and cook for 3-4 minutes on each side until golden, I needed to do three batches to cook all my seitan, once strips are cooked, place on a paper towel to absorb any excess oil. Set the cooked strips in the oven on warm while you make the orange sauce. To make the orange sauce, combine all ingredients in a small bowl, pour into the same skillet you used to cook the seitan and cook down for 3-4 minutes until the sauce is thick and syrupy. At this point you can add the seitan to the sauce to flavor it completely, or if you like your seitan extra crispy, you can drizzle the sauce over each individual plate. I served mine on white basmati rice, because I had ran out of brown… Don’t make the same mistake. Sprinkle chopped scallions over the seitan for extra yumminess.

DSC_0009

Individual Vegan Margherita Pizzas with Homemade Fresh Moxarella Cheese

Close up 2Vegan Margherita Pizza

If you don’t want to make a pizza from scratch, then use bottled pizza sauce, and a pre-bought crust, but whatever you do, Please make the fresh Moxarella Cheese. It’s nearly instant.

SlicedHomemade Vegan Moxarella, without any artificial anything. It browns and stretches.

Top ViewIndividual Pizzas Make Everyone Happy!

Vegan Margherita Pizzas 

This Recipe Makes 4 individual pizzas. Don’t forget to have fresh tomatoes and basil on hand. First, start the dough.

Pizza Dough:

This crust contains gluten, for several gluten free crust options, click here.

  • 2 C. organic all purpose flour
  • 1 C. organic whole wheat flour
  • 2 1/4 t. active dry yeast (1 packet)
  • 1 cup warm water
  • 2 t. sea salt
  • 1 t. agave

Method: Combine all ingredients and knead for 10 minutes. Cover and let rise in a warm place for 60 minutes until doubled. While the dough is rising, make the pizza sauce and the fresh moxarella cheese.

The Dough

The Pizza Sauce:

  • one 14 ounce can crushed tomatoes
  • 3 cloves minced garlic
  • 1/2 t. dried thyme
  • 1/2 t. dried oregano
  • 1/2 t. dried basil
  • 1 t. agave
  • sea salt and ground black pepper to taste

Method: saute the garlic in a little vegetable broth or the olive oil in a small saucepan for a minute or two on medium heat. Add all the other ingredients. Reduce heat to low and let simmer while you make the Moxarella Cheese.

Pizza Sauce

Fresh Moxarella Cheese:

I wanted to call this “Foxy Moxy,” but that name has been taken by some unsavory characters on the web….

This cheese stays in a “melted” type form until baked, and then it forms a nice crust, like dairy cheese does. It’s not intended to be eaten plain (like real dairy fresh mozzarella can). It’s also fairly salty to make it stand out in your recipes, if you prefer less salt, please feel free to reduce to 1/2 teaspoon, or less, but the flavor won’t be as pronounced.

Note: This recipe is one of the most popular recipes on my site and is therefore one of the most copied/imitated. If you make this cheese and like it enough to blog about it, please have the ethics to respect me, my creativity and the weeks that I spent developing this recipe by simply linking to this post rather than sharing the recipe on your own site. ❤️ -Somer

  • 1/4 cup raw cashews (soaked in water for several hours and then drained IF you don’t have a high powered blender)
  • 1 cup hot water
  • 2 tablespoons + 1 teaspoon tapioca starch
  • 1 teaspoon nutritional yeast
  • 1 small garlic clove, minced
  • 3/4  teaspoon sea salt
  • 1 teaspoon fresh lemon juice

Method: Blend all ingredients together in a high speed blender until completely smooth, about 1 minute. Pour into a small saucepan and cook, stirring constantly over medium high heat. After a couple of minutes the mixture will start to look weird, like it’s curdling or separating. This is totally normal, reduce heat to medium and KEEP stirring so you don’t burn the cheese to the bottom of the pot. Keep cooking and stirring til really thick (about 2-3 more minutes) and the mixture becomes like a cohesive mass of melted dairy cheese and stretches like in the photo below. Remove from heat and let cool a bit while you assemble the pizzas. Moxarella stores well in a sealed container in the fridge for a few days and can be used to make excellent grilled cheese sandwiches, mac and cheese, etc….Moxarella

Assembly: Your dough should be nearly ready now, so when it hits 60 minutes or is doubled, punch it down and divide it into four pieces. Preheat the oven to 500°. Roll out the dough on a floured surface as thin or thick as you like. We opted for thicker pizzas this round. Spread each pizza with 1/4 of the pizza sauce. Top with fresh tomato slices, dollops of the fresh moxarella cheese and fresh basil leaves like shown in the photo below. Pre-Bake
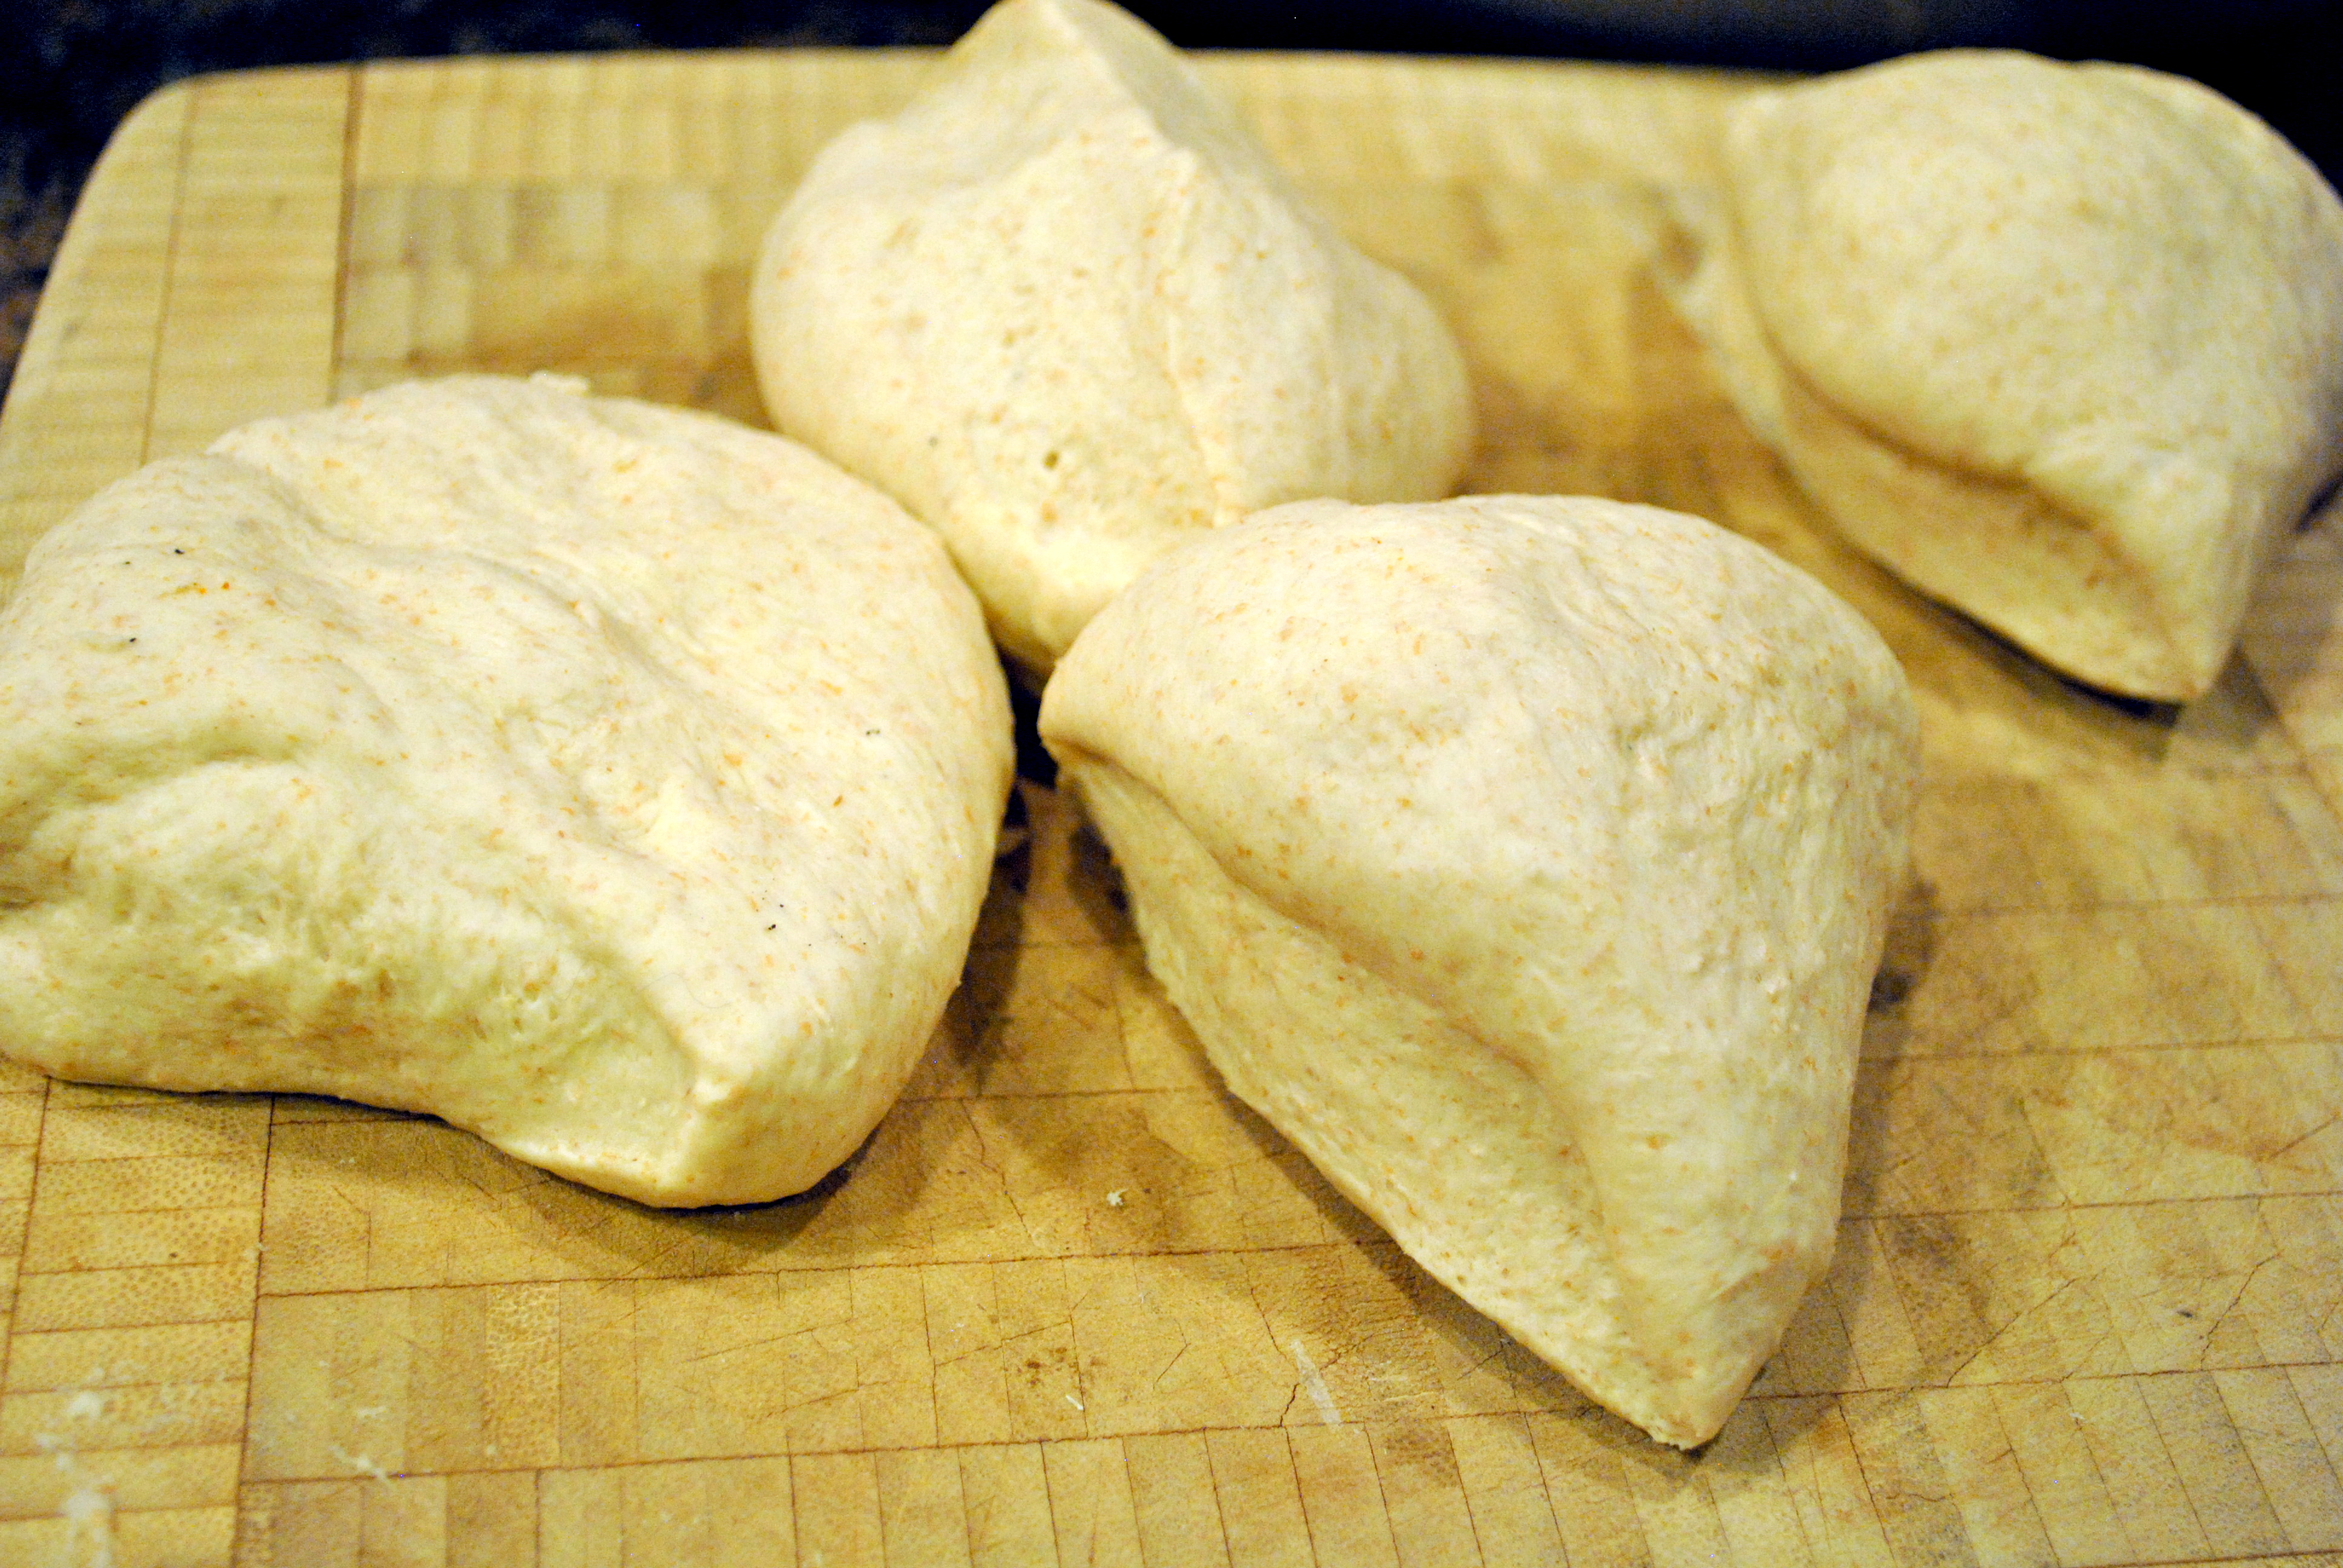
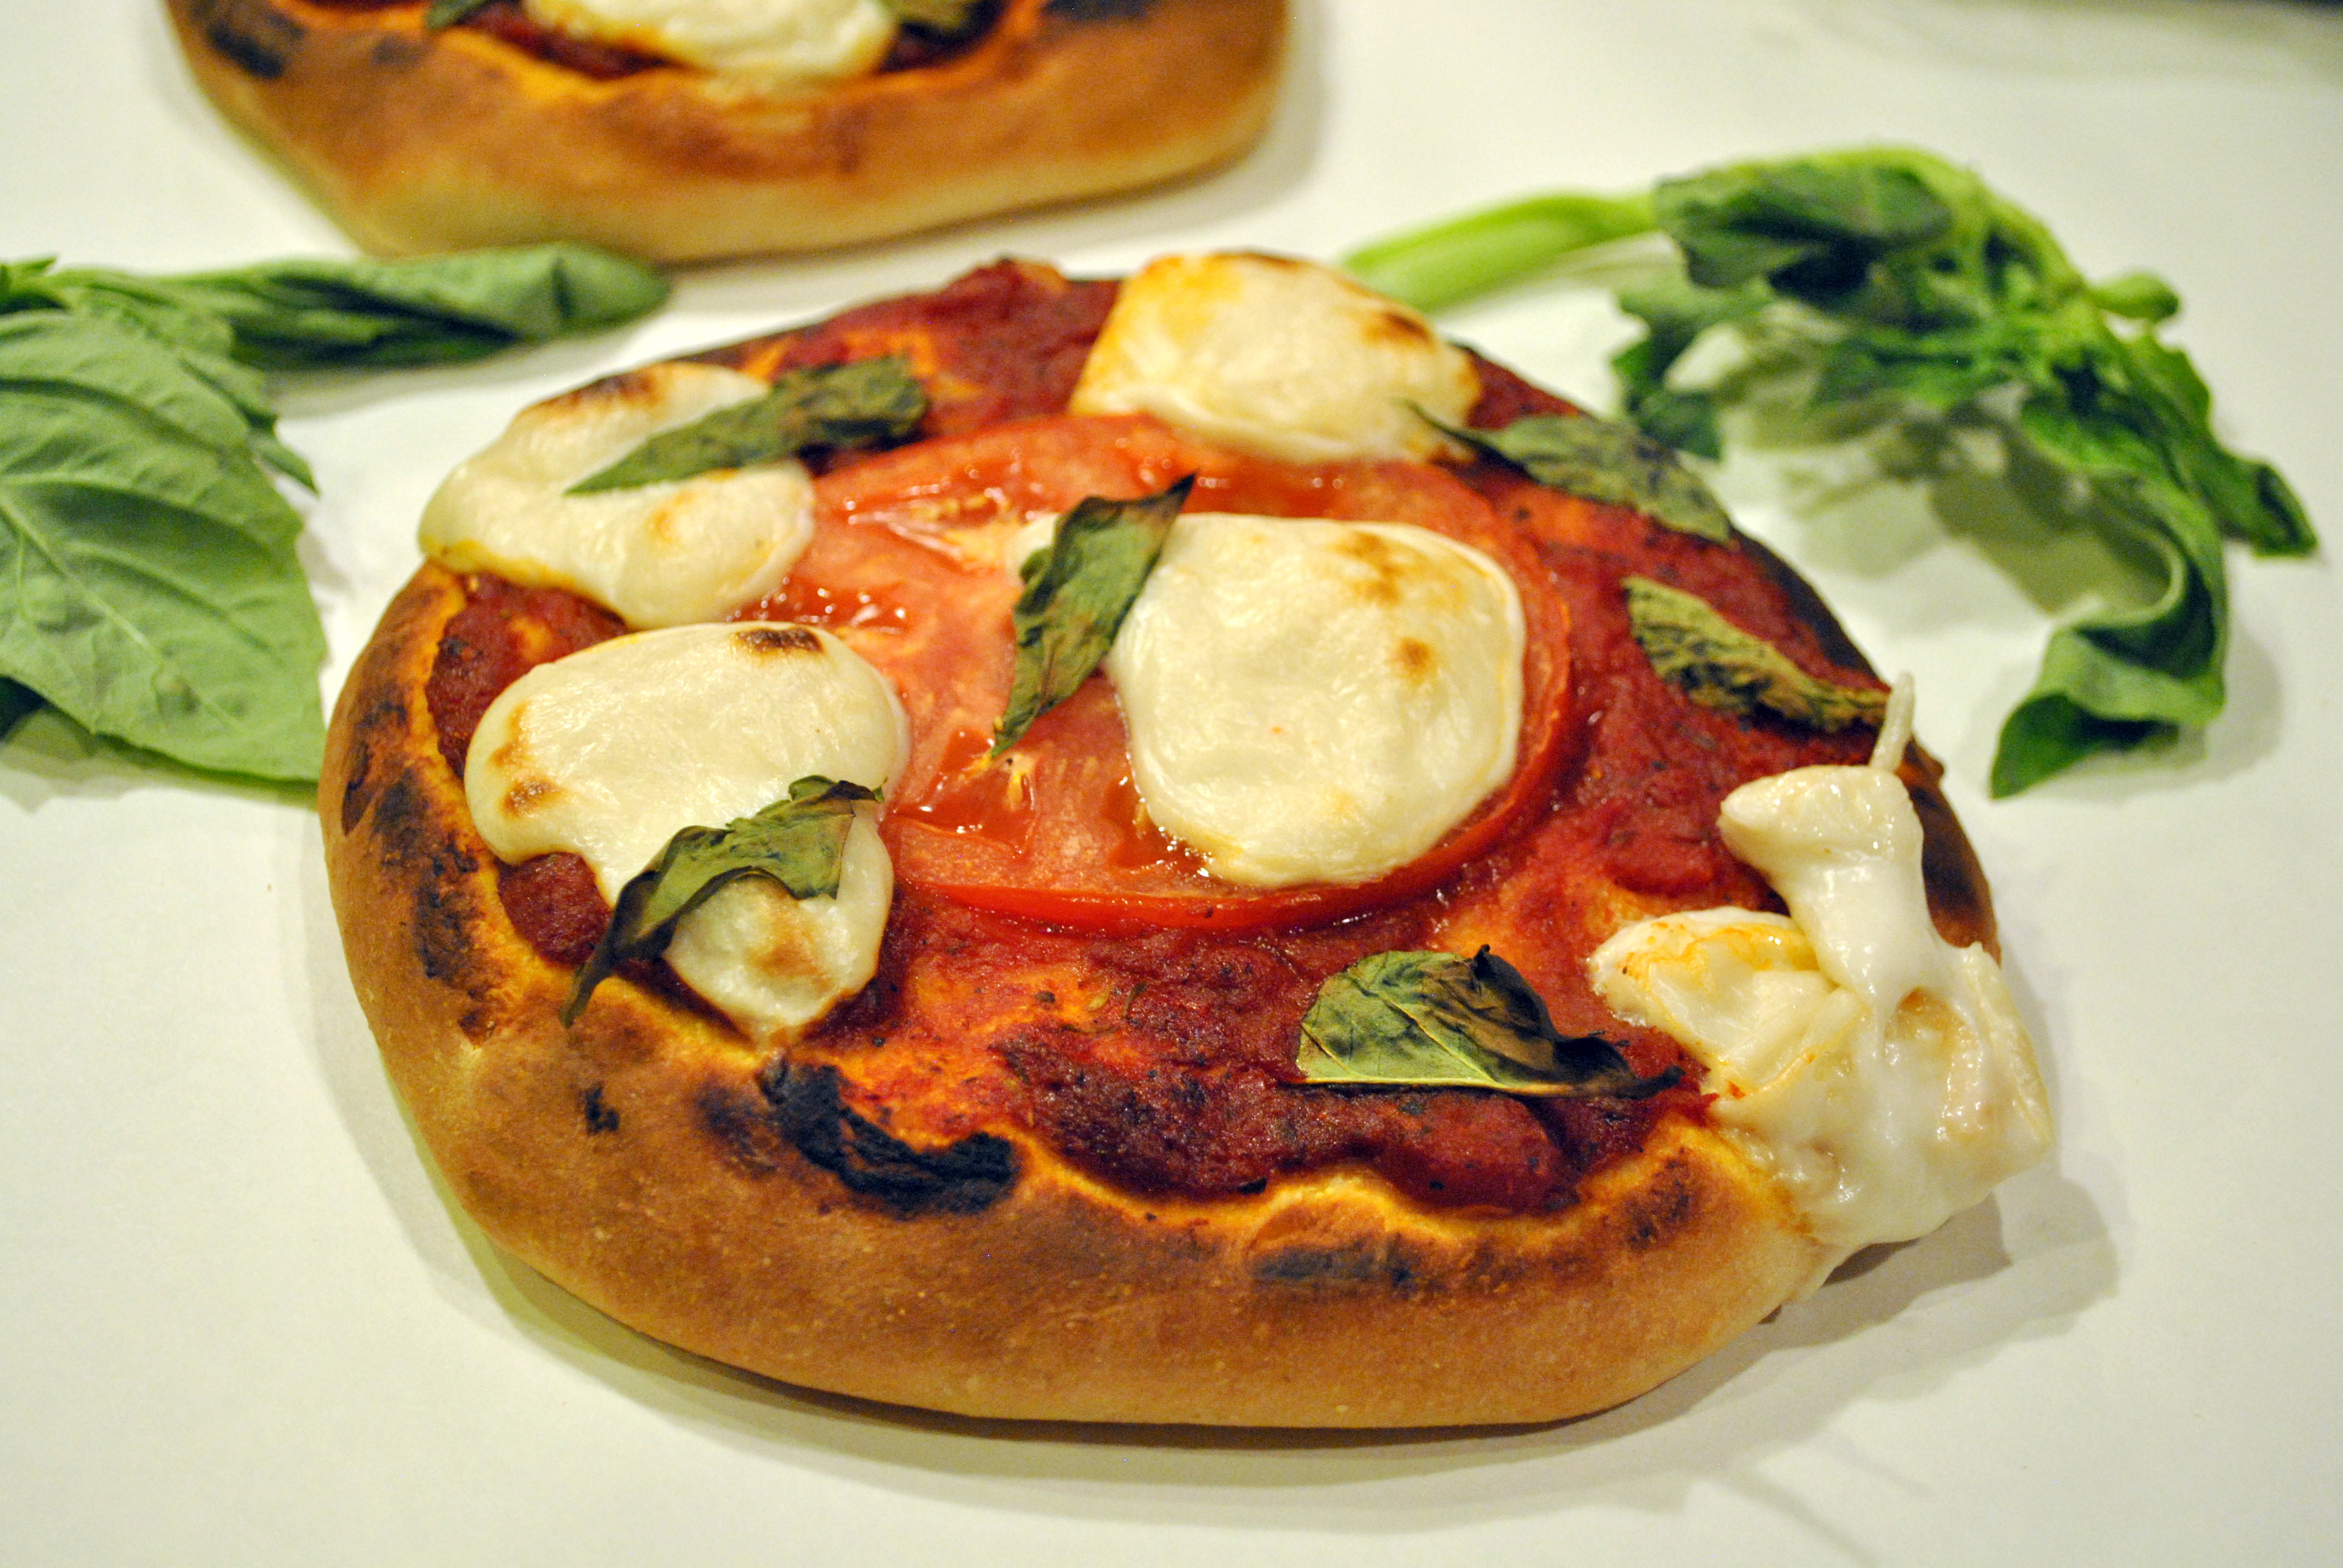
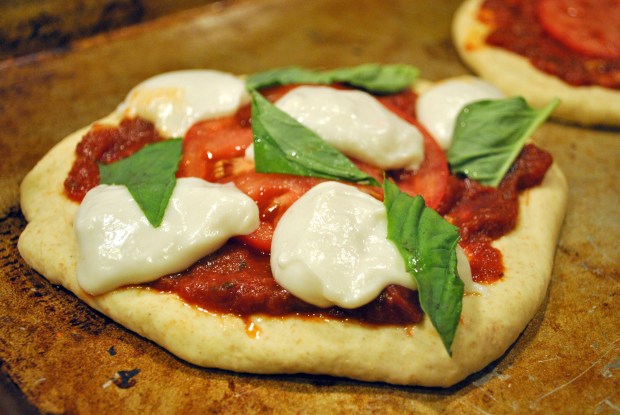
Bake individual pizzas for 10-12 minutes on a baking sheet until cheese and the crusts are nicely browned. Note: there is a very fine line between nicely browned and burnt here, so please, watch your pizzas carefully. Sprinkle pizzas with a bit of additional chopped fresh basil once out of the oven if desired.
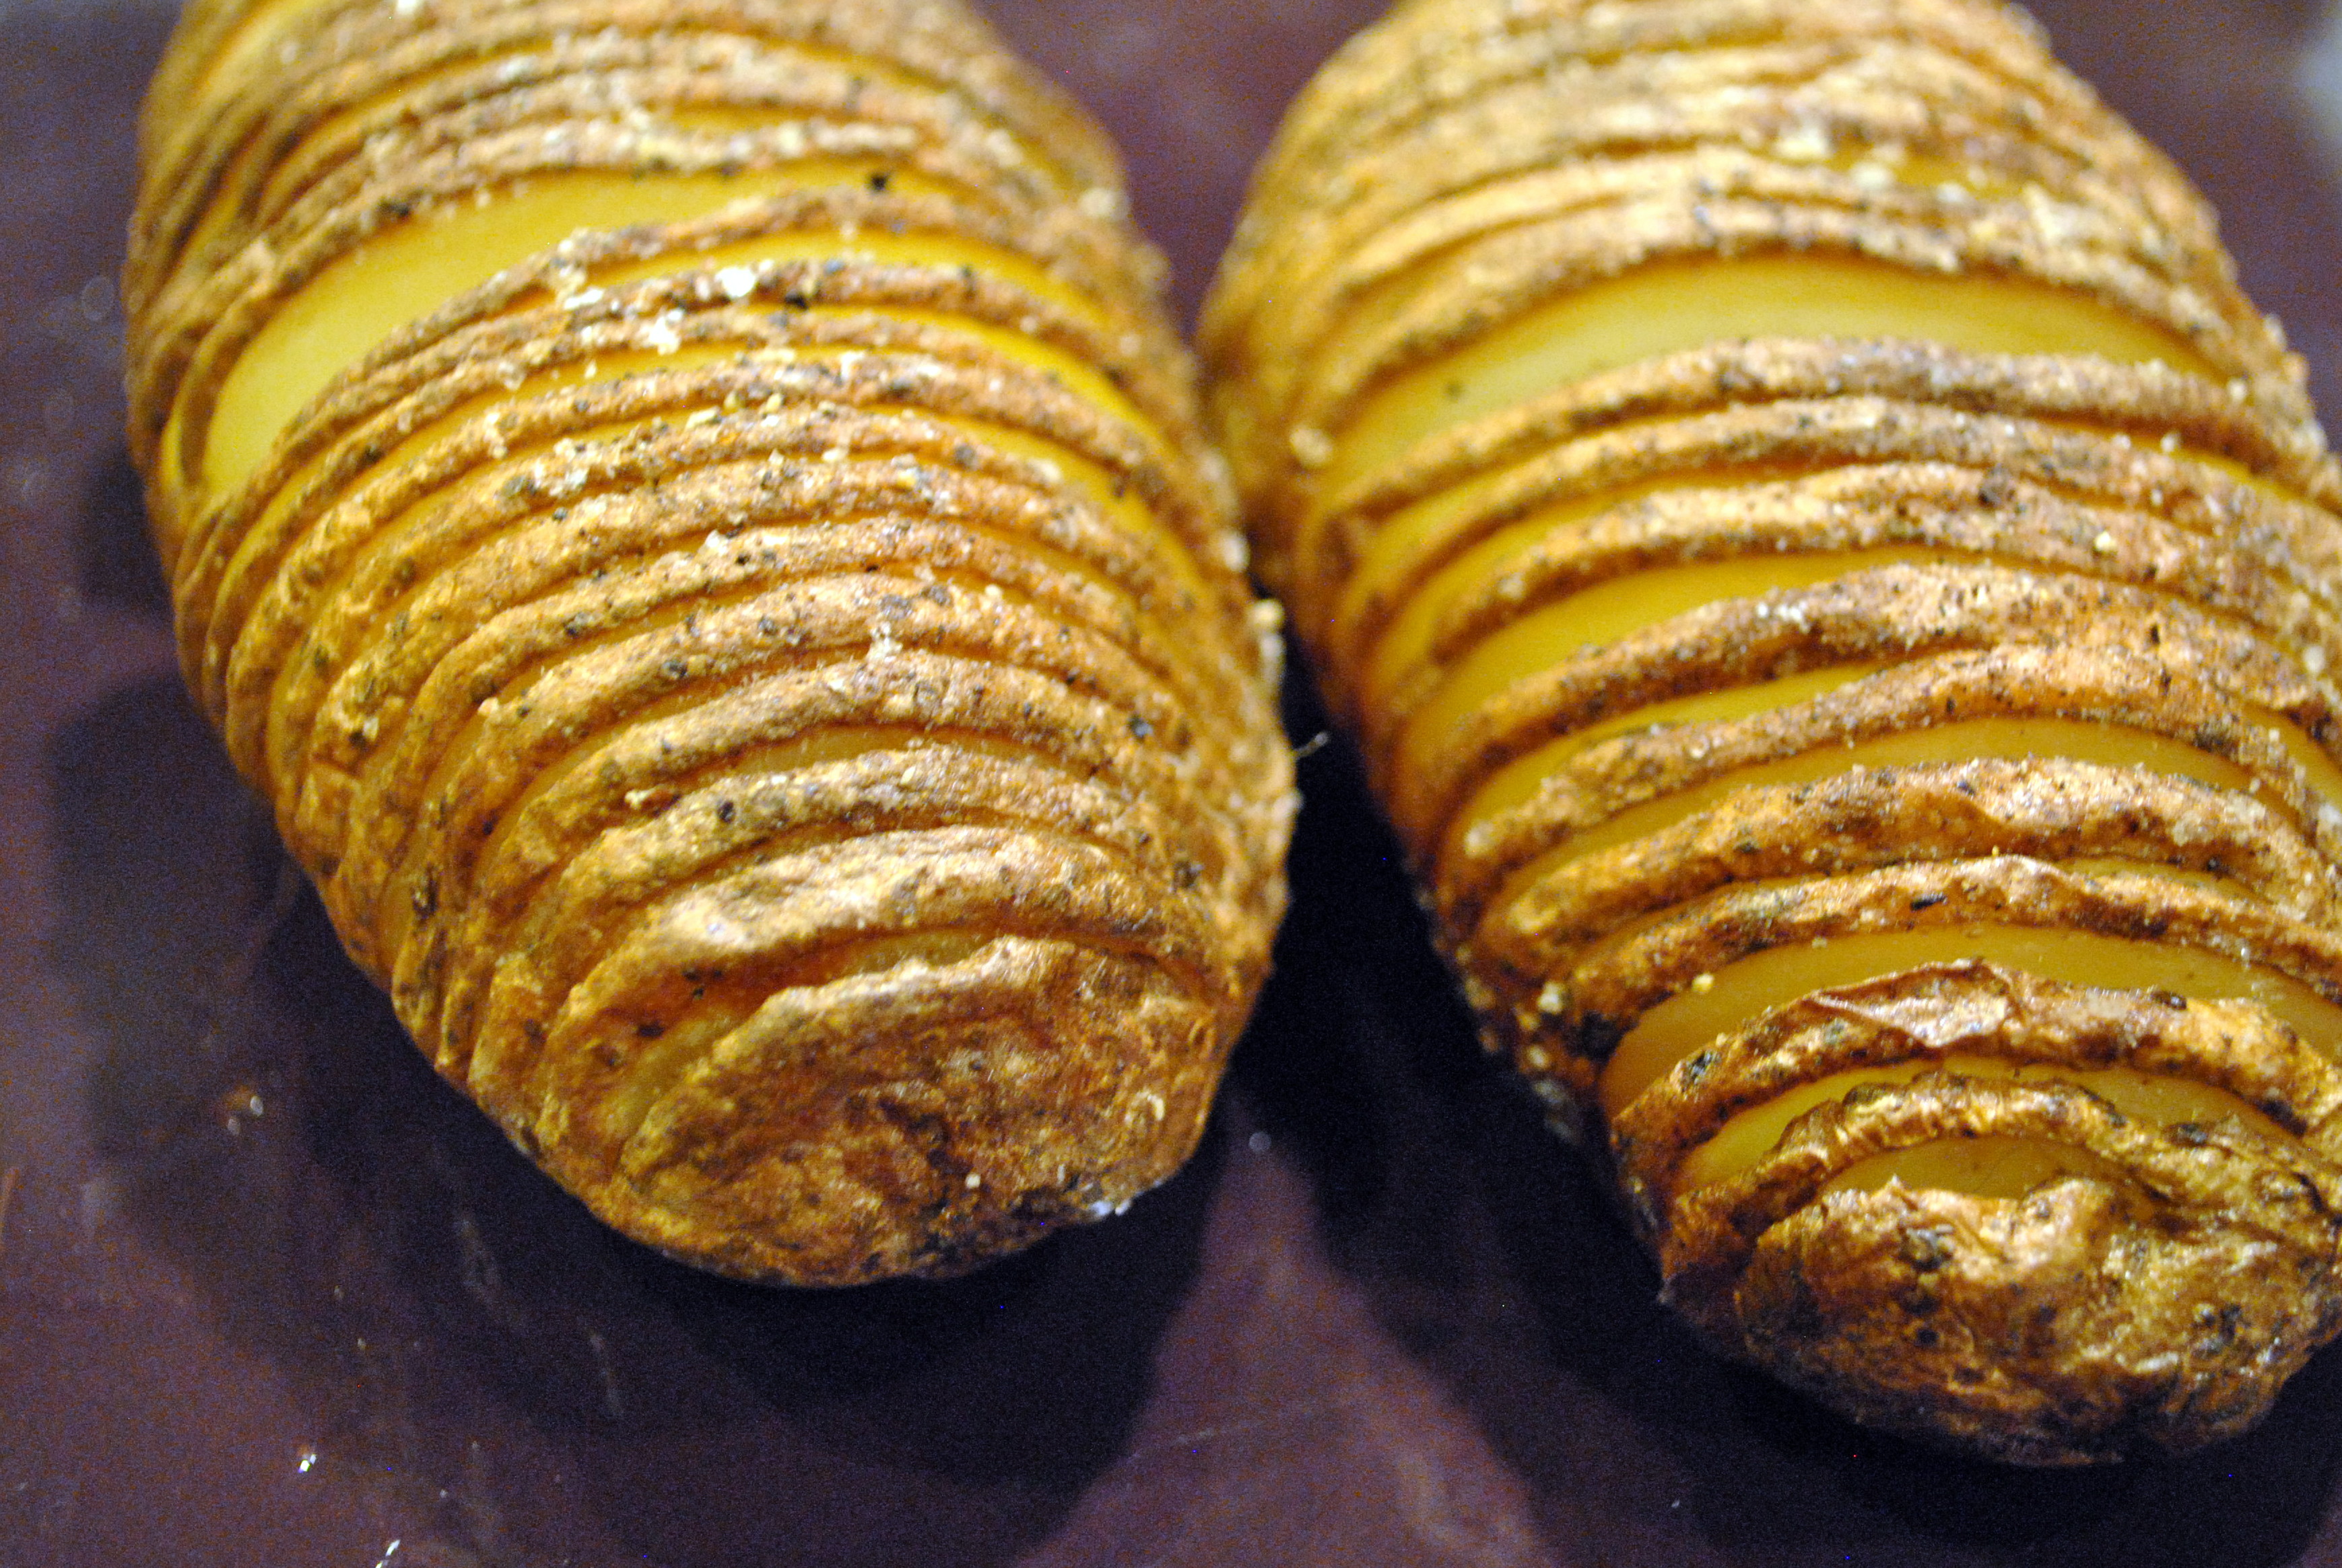
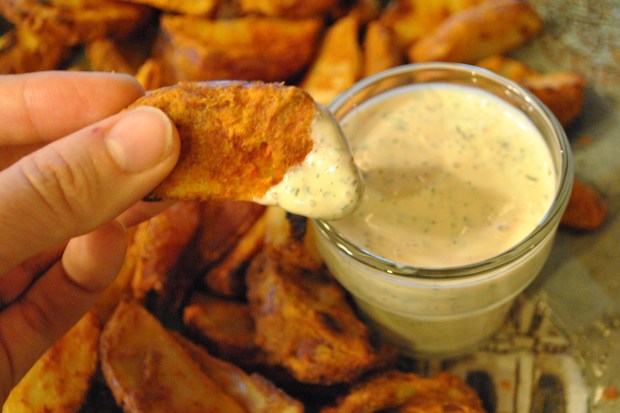
 BiteI won’t take any responsibility for anyone burning their mouth on hot cheese.Margherita Pizza

Featuring Frugal

Cake Side ViewHave you ever seen a cake that made your knickers get all in a bunch?

This post started out a long time ago, with this cake, however it was a dare last week that made me pull it out of the draft archives. Nick at Frugal Feeding made a fantastic Mushroom Orzotto, and in his post, taunted me thus: “If you are food revellers of vegan ilk, it may prove a little tricky to create a genuinely satisfying orzotto – without the presence of starch or dairy fat thickening without altering the flavour entirely could prove tricky.

Mushroom OrzottoMushroom Orzotto

Tricky? Um, I simply subbed 1/2 C. cashews blended with 1 C. water and 1 T. nutritional yeast (cashew cream) and used a “knob” of homemade vegan butter instead of the dairy variety. Oh and I used whole wheat Orzo. Pretty sure I wasn’t missing anything flavor-wise. In fact, these are the sort of dishes that makes my husband ask if we’ve gone off the vegan diet. Fantastic recipe Nick! Next time I’ll be doubling it.

Hasselback PotatoesNick’s Hasselback Potatoes.

The first time I ever saw Hasselback potatoes was on Frugal Feeding. Lets just say, I was more than impressed with the sexy rendition of my favorite root vegetable and have made these several times since.

Sweet Potato & Parsnip SoupRoasted Sweet Potato and Parsnip Soup

Then there was the time that I arm wrestled Frugal into participating in the Virtual Vegan Potluck. I don’t think he or his readers ended up disappointed, especially since Nick ended up taking home the prize for best soup with the lovely Roasted Sweet Potato and Parsnip Soup. I knew you had it in you my friend 🙂 Besides, how can you not win everyone over with all those lovely roasted veg? Even the PPK thought the Virtual Vegan Potluck was cool enough to put it at #28 on their top 100 list for 2012! I hope you’ll join us again in May.

Roasted VeggiesLovely Roasted Veg!

Now back to that cake. As I said before, this is exactly the type of cake that makes me swoon.

Cake Side & Top ViewFrugal’s Apple and Walnut Cake with Black Treacle (Molasses) Icing

I made a double layer 9 inch cake instead of using the 20cm cake tins. I didn’t have any batter leftover for cupcakes like Nick did in his recipe.

Demystifying Metric Measures & Vegan Substitutions: If you don’t have a kitchen scale, I’ve weighed the ingredients on my kitchen scale and then measured them to take the guesswork out of it for you. Normally I wouldn’t include a blogger’s full recipe, but the online measure substitution tools weren’t entirely accurate and caused me to make a mess out of my first cake. I don’t want the same to happen to you. (Don’t worry, I asked Nick for permission). Go to his recipe for the method, but do preheat your oven to 150° celcius (302° farenheit) before starting and give your 9 inch tins an extra five minutes in the oven.

Apple and Walnut Cake with Black Treacle (Molasses) Icing

Ingredients for the Cake:

  • 300 grams organic all purpose flour = 2 cups + scant 1/2 cup (I used whole wheat pastry flour)
  • 1 t. ground cinnamon
  • 1/2 t. baking soda
  • 140 grams dark brown sugar = scant 2/3 cup
  • 50 grams golden caster sugar (I used organic unrefined sugar) = scant 1/4 cup
  • 250 ml sunflower oil = 1 cup + 3 tablespoons (I used half the amount and subbed 1/2 C. applesauce for the rest, because, as my daughter said when I was measuring it out “mom, you don’t use that much oil in a whole year’s worth of cooking”)
  • To substitute for the 4 eggs in the recipe: use 1 cup silken tofu, 2 t. apple cider vinegar and 1 t. baking powder blended all together in a blender, (vinegar and baking powder mimics the rise that eggs give in baking)
  • 3 grated apples (leave skins on)
  • 100 grams chopped walnuts = 1 cup
  • 2 t. Mexican vanilla (addition) because I simply have to put it in everything I bake at the moment

Cake top view

Ingredients for the Icing:

  • 100 grams homemade vegan butter or earth balance = about 1/2 cup
  • 50 grams dark brown soft sugar = about 1/4 cup
  • 1 Tablespoon black treacle (molasses)
  • 1 t. Mexican vanilla
  • 200 grams vegan cream cheese = about one 8 ounce container of vegan cream cheese OR or 2/3 block extra firm tofu, pressed overnight to remove extra liquid. If you are using the pressed tofu (like I did) instead of store bought vegan cream cheese, add 1/4 teaspoon sea salt and 2 Tablespoons lemon juice to the recipe.

Combine all in food processor until silky smooth. To the tofu haters: if you make the icing in advance and let it sit for a few hours in the fridge before icing the cake, the tofu flavor in the icing becomes completely indistinguishable as it absorbs the flavors of the other ingredients. I swear it tastes just like I used real cream cheese.

Cake Slice

Do you follow Frugal?

Creamy Satay Soup with Tasty Baked Tofu

Creamy Satay Soup

As I write this, I’m deliriously tired. I haven’t been so sleep deprived since my kids were newborn babies. Instead of having a wonderful Christmas with my parents, we all contracted a very severe flu. I’ve been on a near 24 hour watch nursing my children through a case of influenza that nearly put one child in hospital because for several days they couldn’t keep anything down, not even water.

To make things worse I used the internet to do all our Christmas shopping and had “Santa” deliver everything on the lists to my parent’s home (5 hours away) instead of ours.  So our Christmas was very bleak and dismal indeed. I tried to pull a Christmas Eve miracle with goods and groceries from the local store. Thank goodness my children were too delirious to care much about what was under the tree, but I was angry and miserable. How could this happen on Christmas?

Needless to say, it took me a bit to get into the Christmas Spirit. I realize we are a very fortunate family and have more than many in the world. I’m a stay at home mom and have been able to care for my children and give them comfort when they needed it most. Neighbors dropped off special gifts for them and have called to check on us regularly. We’ve had some relapses and are slowly recovering. Today we had this glorious soup (the only blog worthy meal I’ve created in the last 10 days).

Close up

Creamy Satay Soup with Tasty Baked Tofu

For the Creamy Satay Soup:

  • 1 diced onion
  • 1 diced carrot
  • 1 diced red bell pepper
  • 2 cloves minced garlic
  • 2 T. minced fresh ginger
  • 4 C. vegetable stock
  • 1/2 C. brown basmati rice
  • 1/4 C. chopped cilantro
  • 2 T. agave
  • 2 T. soy sauce
  • 2 T. lime juice
  • 2 t. curry powder
  • 1/2 C. natural chunky peanut butter
  • 1 can coconut milk

Baked TofuThis might be the best tofu I’ve ever eaten! Even the “not fans of tofu” people will drool over it.

For the Tasty Baked Tofu:

  • 1 block extra firm tofu
  • 1/4 C. organic ketchup
  • 2 T. agave
  • 1 T. olive oil
  • 1/2 t. ground black pepper
  • 2 T. soy sauce
  • 1 T. apple cider vinegar
  • 1 t. sriracha hot sauce
  • 1 clove minced garlic
  • 1 t. minced ginger
  • 2 T. chopped cilantro
  • 1 t. liquid smoke (optional)

Tofu PressOne of my favorite Christmas presents! The insanely awesome Tofu Xpress

Method: First press the tofu for 30 minutes or so to remove liquid (this can be done before prep and initial cook time). In a large pot, water saute the veggies for the soup until the onion is translucent. Add all other ingredients to the pot and bring to a boil over medium-high heat. Once boiling, put the lid on the pot and reduce heat to a simmer. This will need to simmer for about 45 minutes. While the soup is simmering, preheat the oven to 425 degrees. Remove tofu from the press and slice into pieces. Put all the marinade ingredients in a small lidded jar and shake til combined. Put tofu back into the press and pour marinade over it.

Marinate

Let absorb flavors for a few minutes, then pour out tofu and marinade onto a baking sheet (mine is lined with a knock off silpat).

Tofu on Tray

Put tofu into the oven and bake for 20-25 minutes, turning once during baking.

Serve tofu over the top of the soup and garnish with some crushed peanuts and chopped cilantro if desired.

Creamy Satay Soup-001


This recipe is featured on the Virtual Vegan Linky Potluck

Mom’s 9 Grain Granola

Mom's Granola1

My mom is one of the most beautiful women I know. Beyond her beauty though is a woman who knows how to work. She’s always moving, creating and inspiring. She’s an educated artist, a mother of nine, a teacher, an industrious woman who knows how to grow fields of wheat, make quilts and knit funny slippers for all her grand-kids.  She taught me how to cook and gave me my love of vegetables. Even in Elementary School I loved spinach when all the other kids hated it.

momandmeMy mom and I in 1995

She’s been sharing some recipes with me that lately I thought you might enjoy. This granola is really special, it is packed with nuts and seeds and is chock full of goodness! It makes for an amazing breakfast start or as a “broken cookie” snack right out of the jar.

Mom's Granola2

Mom’s 9 Grain Granola

  • 2.5 C. rolled 9 grain cereal (or rolled oats if you can’t find it)
  • 1/4 C. wheat germ
  • 1/4 C. flax seed meal
  • 2 C. shaved coconut (not the itty bitty pieces)
  • 2 T. quinoa
  • 2 T. millet
  • 1/2 C. sunflower seeds
  • 1/2 C. raw cashews
  • 1/4 C. sesame seeds
  • 1/2 C. pumpkin seeds
  • 1/2 C. sliced almonds
  • 1/2 C. pecans
  • 1/2 C. walnuts
  • 1/2 C. water
  • 1/2 C. raw sugar
  • 2 T. agave (vegan version, mom uses honey)
  • 2 T. pure maple syrup or unsulphered molasses
  • 1 T. mexican vanilla
  • 1/4 C. coconut oil
  • 1 t. sea sat
  • 1/4 t. nutmeg
  • 1/2 t. cinnamon

Jarred

Method: Preheat your oven to 300 degrees. In a large bowl, combine the 1st 13 ingredients (9 grain cereal through to walnuts) and set aside. Combine the last 9 ingredients (water through to cinnamon) a small saucepan. Cook over medium heat on the stove top just until sugar has dissolved. Pour the liquid mixture over the dry ingredients and stir with a wooden spoon until everything is well coated. Pour the mixture onto your largest rimmed baking sheet. Bake for 30-40 minutes until golden brown. Remove from oven, let granola cool completely on the baking sheet. Once cooled break into big pieces and store in glass jars (This nearly fills 3 quart sized jars).

BakedBaked Granola

PlainBroken into pieces

Serve with non-dairy milk (mom says cow’s milk smells just like cow’s breath). Sliced fresh, frozen or dried fruit is also a nice addition.

Mom's Granola3

Wishing you all a very Merry Christmas. I’ll be celebrating the Holidays with my parents at their home in the woods and taking a little blogging break. I’ll touch base with you in a week or so.  -Love, Somer

Truck Stop Jo Jo Potatoes

Truck Stop Jo Jo Potatoes

Some of my fondest childhood memories are of the vacations I had with my family. Camping, river running, Redwood Forest, trips down to Mexico, California and then up the coast. We always had a good time and never missed out on great adventures. Somehow, we often left my little brother Morgan behind and had to turn around (sometimes a half an hour or more later) to go back and get him. As an adult, Morgan chose a career in the Marine Corps (No man gets left behind).

One particular trip our big ol’ Chevy Suburban broke down and we ended up spending the weekend in some po-dunk town in Southern Utah instead of our Lehman Cave destination. We still made it fun however, we ate at the local diner, did some skateboarding at the local park and razzed each other. Inevitably during our road trips we would stop and get gasoline at the Truck Stops, where we would almost always get Jo Jo potatoes and dip them in ranch dressing. This version tastes a lot like the original, without any nasty deep frying.

Truck Stop Jo Jo Potatoes

  • 8 red potatoes (small-ish) sliced into 8 wedges each
  • 2 T. safflower or other neutral tasting oil
  • 2 T. lemon juice
  • 1 t. liquid smoke (optional)
  • 1/2 t. ground black pepper
  • 1/4 C. arrowroot, cornstarch or tapioca starch (I’ve tried all 3 with only slightly different results)
  • 2 T. nutritional yeast
  • 1 t. smoked paprika
  • dash cayenne
  • 1 1/2 t. celery salt or 1 t. sea salt and 1/2 t. celery seeds
  • 1/2 t. onion powder
  • 1/2 t. garlic powder
  • 1 t. mustard powder

Method: Get out your rimmed baking sheet and Preheat oven to 425 degrees with the baking sheet heating up in there too. Slice the potatoes into wedges (as described above). Toss the potatoes in the liquid ingredients, then add the dry ingredients and spices. Toss until evenly distributed. The potatoes may stick together so pull them apart if they do. Carefully remove hot baking sheet and dump the seasoned potatoes onto it in a single layer. Bake for 30-35 minutes, turning potatoes halfway through the cook time until golden and cooked through. Serve with Vegan Ranch. You can also use russet (brown) potatoes for this recipe, but they’ll take 15 minutes longer to bake.

I dipped these in a homemade low-fat vegan ranch dressing

Vegan Ranch

Dip it!

Update: 12/16/12 Another Happy Herbivore Abroad Cookbook Giveaway is going on over at An Unrefined Vegan today. Go over there and enter for another chance to win! Today is also the last day to enter my contest.

HHA_31DaysofGiveaways_badge.

Mini Vegan “Meat” Loaves

Mini Meat Loaves

Many of you know that when I went vegan I went cold tofurky. I went from eating meat and dairy on a near daily basis to none at all. Zip, zilch, nada. I completely cleaned out my fridge freezer and pantry so I wouldn’t be tempted to keep eating products that were harming my health.

I’ve always been a decent cook, but I used to plan my meals around what cut of meat I had in the freezer or fridge and add sides from there. As you can imagine, I was in for a bit of a shock when I cut all animal products out. I didn’t know how to plan my meals anymore and had about 3 really rough months in the kitchen. Some meals were barely edible. I’m far beyond that point now and feel like I’ve found my vegan groove. I don’t crave meat anymore, but sometimes I enjoy creating “meaty” counterparts since that was the way we ate for so long. These mini “meat” loaves aren’t like seitan or gardein or anything else you’ve had yet. But I think you’ll love them.

Bite

Mini “Meat” Loaves

Inspired by a meatball recipe in The Complete Guide to Vegan Food Substitutions

  • 1 C. tomato sauce
  • 4 T. almond butter
  • 1/4 C. nutritional yeast
  • 1/2 C. vital wheat gluten
  • 1 very finely diced onion
  • 2 cloves minced garlic
  • 1 t. sea salt
  • 1/2 t. ground black pepper
  • 1 1/2 C. fresh whole grain bread crumbs
  • 1 t. dried thyme
  • 1 t. dried oregano
  • 1 t. dried parsley
  • 1 t. smoked paprika
  • 1 T. vegan worcestershire or 1 t. vegemite

Glaze: combine the following in a small container:

  • 1/2 C. Hienz organic ketchup
  • 1/4 C. pure maple syrup
  • 1.5 T. Braggs raw apple cider vinegar

Method: Preheat your oven to 375 degrees. Water saute the onion and garlic until the onion is nearly translucent, about 5 minutes. Set aside. Whisk tomato sauce, almond butter and worcestershire together. In a separate bowl Mix dry ingredients together including spices. Combine the dry and wet ingredients with a wooden spoon, then add the sauteed onions and garlic. Lightly spray half of a 12 cup muffin tin, this will make 6-8 mini “meat” loaves. Press the mixture into the tins, then top each mini “meat” loaf with some of the glaze. Bake for 25 to 30 minutes. Remove from muffin tins and let cool for a few minutes before serving.

DinnerI’ll be bringing you my Truck Stop Jo Jo Potato Wedges recipe (pictured above) on Friday the 14th, but in the meantime, stay tuned for my Happy Herbivore Abroad Blog Tour and giveaway on Wednesday the 12th.